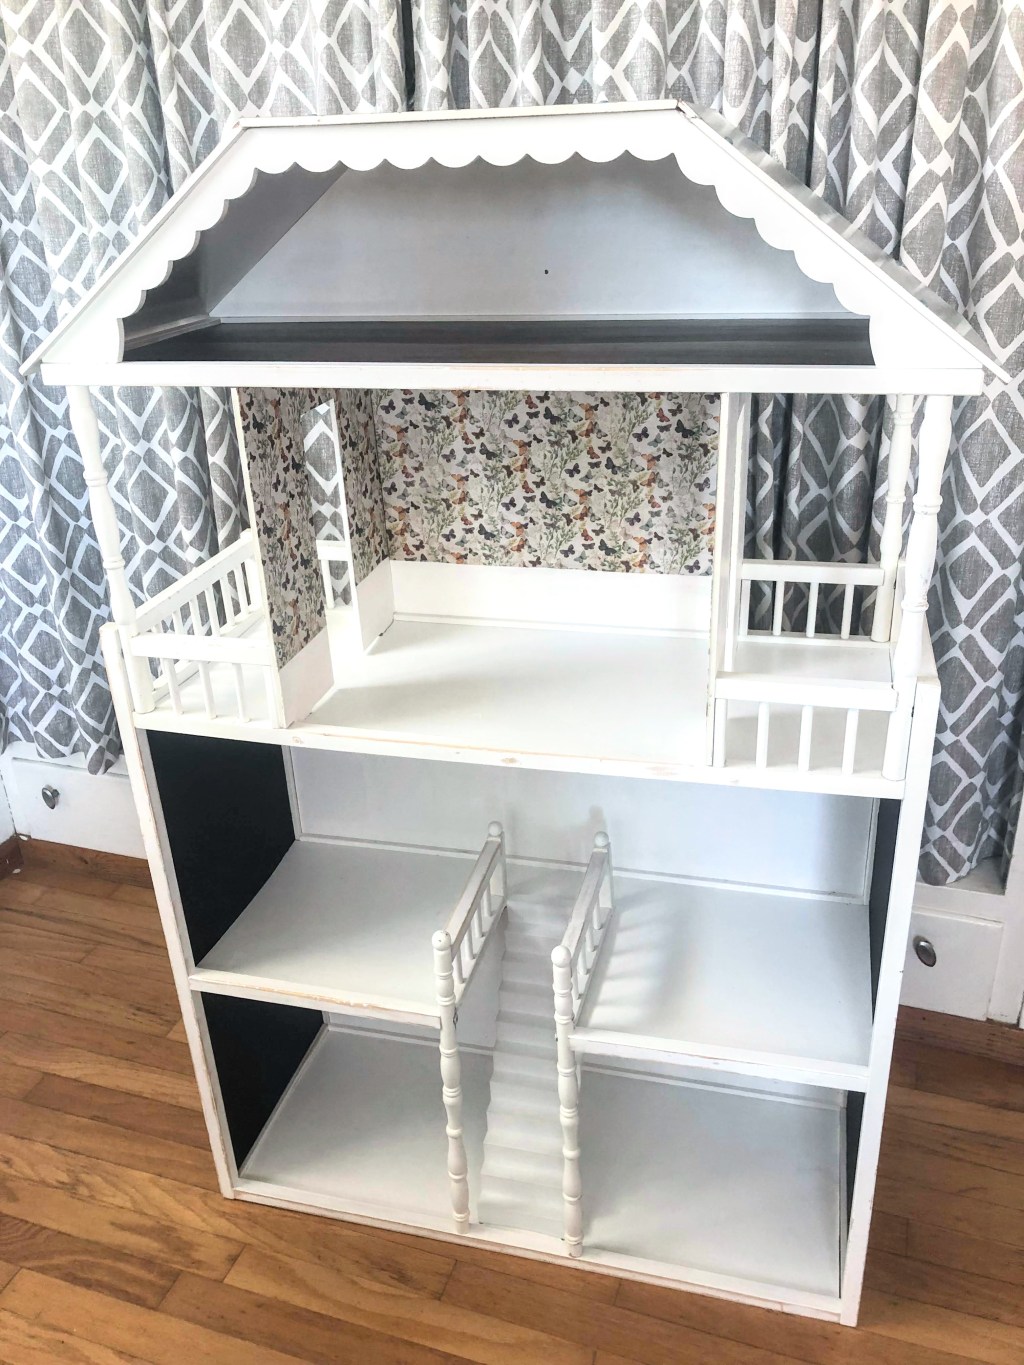
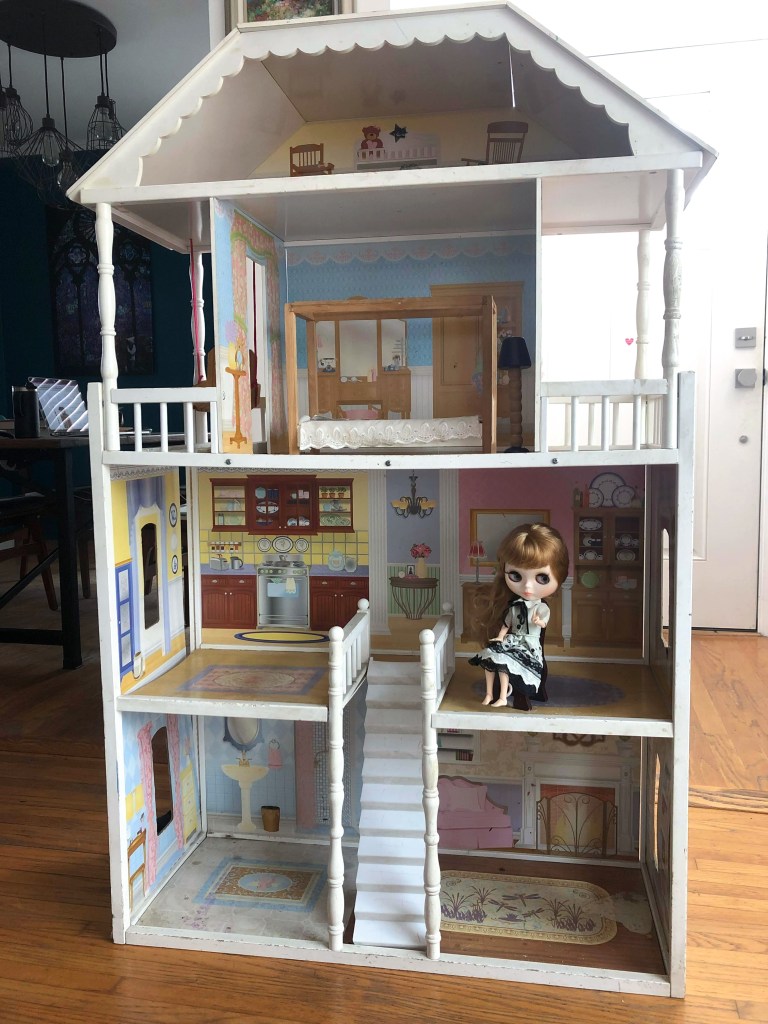
Earlier this summer on my drive home one day, I spotted this enormous dollhouse in the driveway at a neighbors garage sale. Customizing a dollhouse is something I’ve always dreamed of doing and on this day with this house it felt like it was time! I snapped this before picture with Blythe inside for scale. It’s the 1/6th scale Kidkraft Savannah Dollhouse which retails for over $200 and appears to fetch a good chunk of change even secondhand. My price tag? $10
There were definitely some issues with this dollhouse. It was filthy and appeared to have been taken apart and rebuilt incorrectly so it was rickety and the walls and floors weren’t staying in place. For $10 I took a chance on it with hopes I could take it apart, clean and refinish the pieces and find instructions online to rebuild it in all it’s original glory. And that I did.

Here you can see how how dirty and water damaged the pieces were when I started. As a first step I dusted everything and wiped it all down with cleaner. Then to be sure the paint would adhere to the surface, I brushed a coat of gesso onto all the walls and floors. When the gesso was dry, they all got a coat of white paint.

Using the instructions I found online, I got all the frame pieces sorted and separated all the unnecessary screws the previous owner had randomly placed to keep it from falling apart. My original plan was to refresh the frame with white paint, but once it was cleaned and sanded, I liked the look and opted to keep the slightly worn finish.
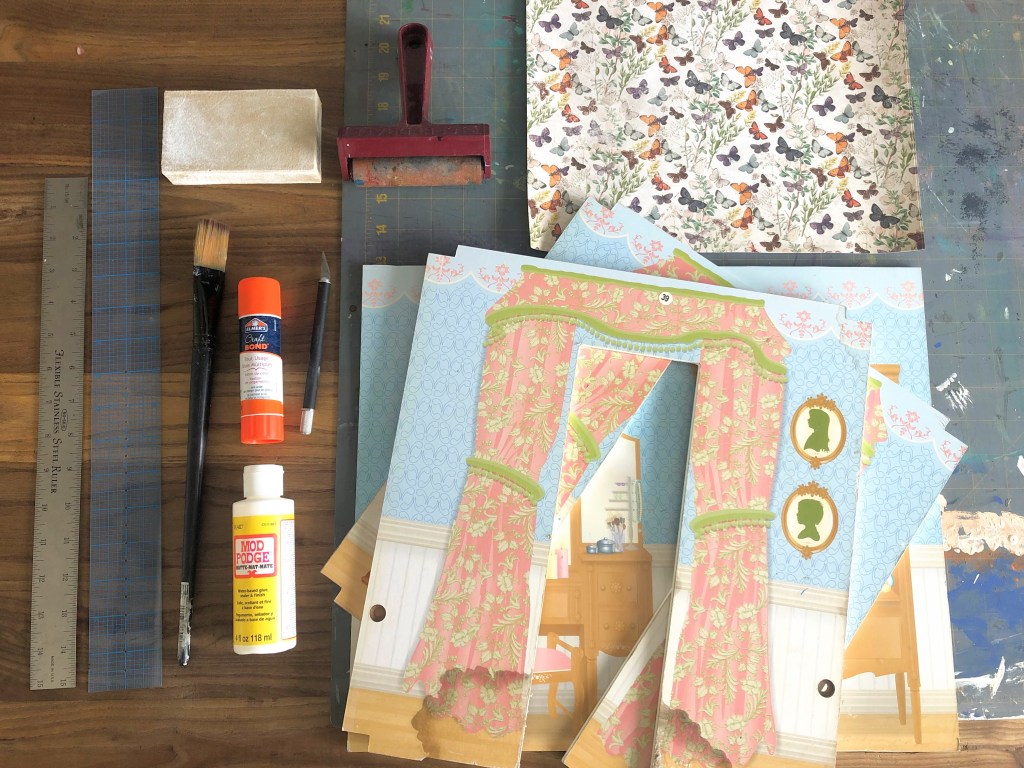
I thought it made sense to design the interior and update the walls and floors before putting the entire thing back together, but once I got into the project I realized it would be easier to have a blank canvas rebuilt and standing in my art room that I could slowly work on over time, room by room. The image above shows the tools and materials I used to wallpaper one of the rooms with scrapbooking paper.

It took 4 sheets of the scrapbooking paper to complete the room because once the pattern was matched to seam the pieces together it made portions of each sheet unusable. Keep this in mind if you’re planning a similar project. I only bought 3 and had to make a run back to the store part way through in order to finish. These walls are partially wallpapered intentionally because I’ll be adding wainscoting to the lower portion eventually.
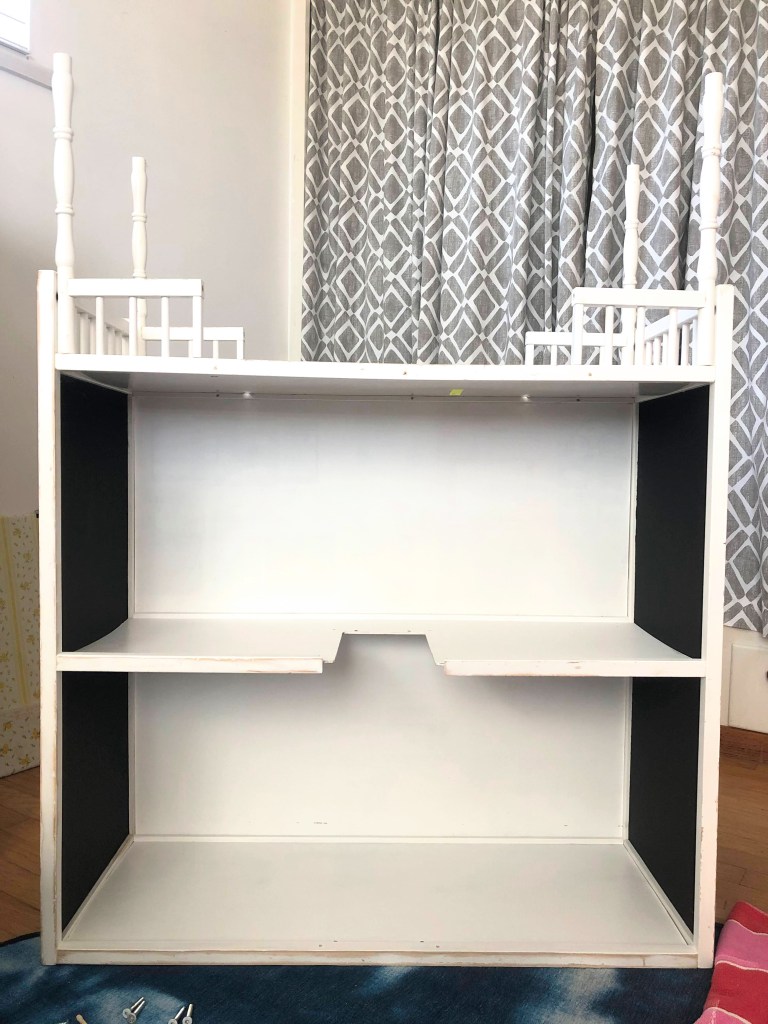
Now for the rebuild and the one issue I ran into. When I took the dollhouse apart, I mistakenly pulled apart pieces that originally came assembled when it was brand new. In the picture above, you’ll see the walls inside those pieces are black. Once the original side walls were repainted, they wouldn’t fit back into the grooves securely so when it came time to build the dollhouse they both fell apart. I went back to the craft store and purchased similar board to replace the side walls, but they only had the correct weight and thickness in black. I actually like the black wall for now and can always modify it as I continue to work on it room by room.

Here she is all spruced up and put back together! You can see in this image that I did replace the flooring in the attic prior to the rebuild because I knew I wanted to use this floor. I simply cut peel and stick vinyl floor panels from the home improvement store to the correct length and stuck them in. I plan to use similar panels in a lighter color for other rooms but want to cut them down into tiny pieces and lay a properly scaled wood floor so that will be another project for another day.

Finally, the before and after. I purchased this miniatures class a while back so now instead of building a room box for the class project, I can apply the lessons to this dollhouse. I’m so happy with how this came out. It’s such a lovely blank canvas and I’m looking forward to the slow process of designing and decorating the interior with found and handmade things. I’m also having visions of using the rooms as little sets for photos and maybe even stop motion eventually!
