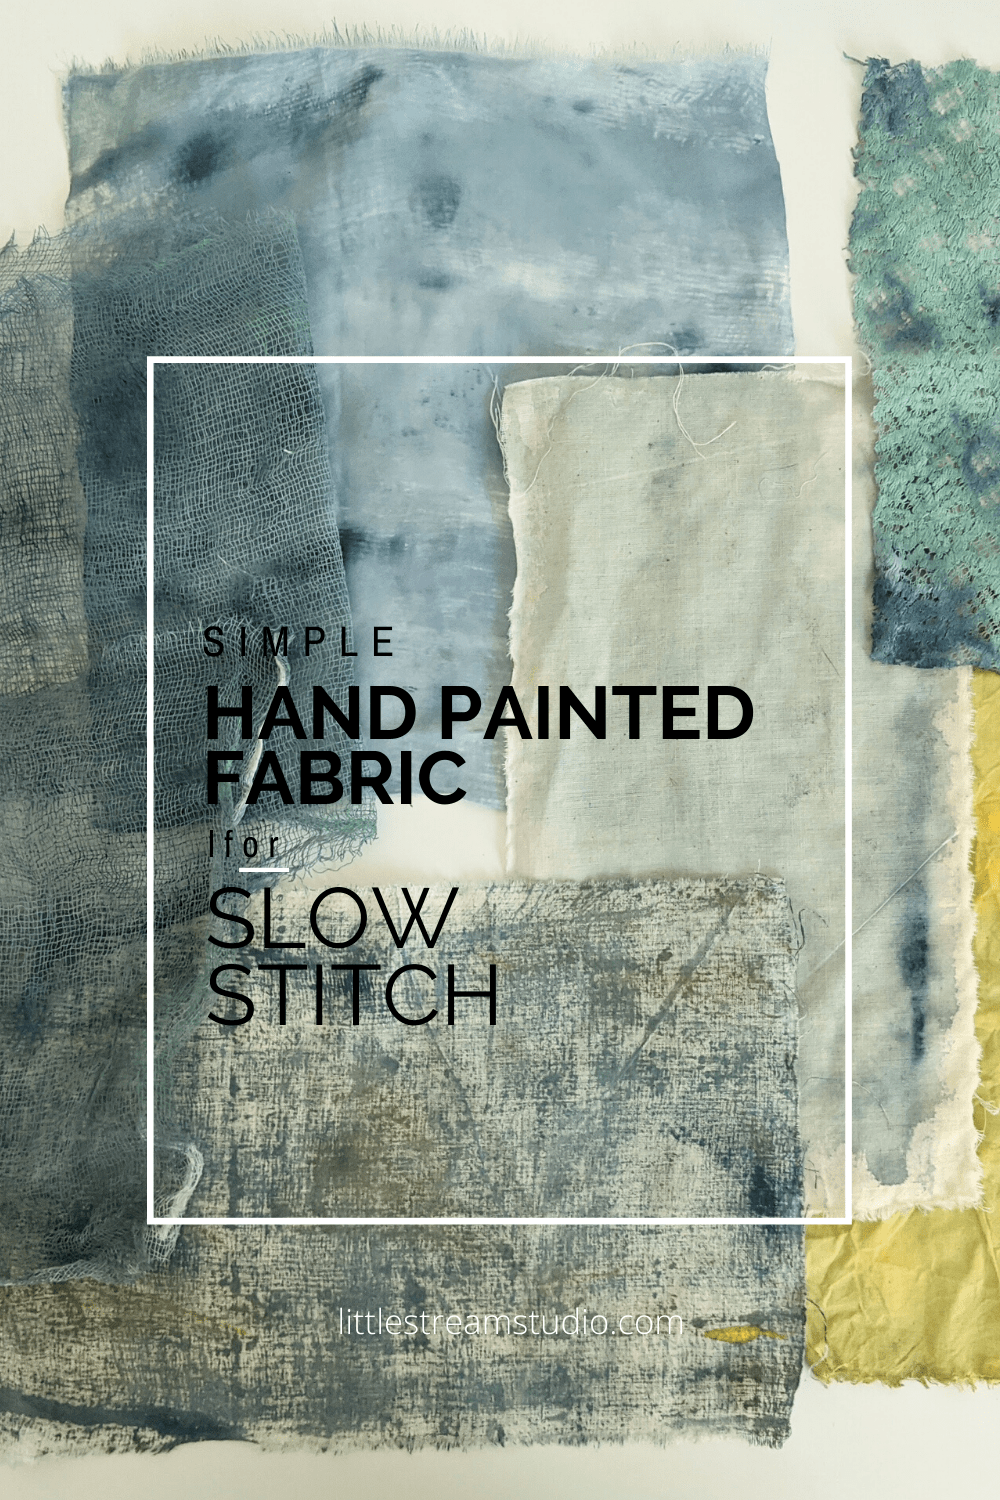
Slow stitching is one of my favorite forms of creativity. It’s easy to get started with just a few basic materials, it’s a relaxing meditative process, you can do it just about anywhere and there are no rules. The beauty is often in the imperfections, rough edges, and old or worn fabrics and today I’m going to share a simple method you can use to create your own unique hand painted fabrics to use in your projects to help you achieve that effect.

Supplies:
- acrylic paint in colors of your choice
- textile medium (optional, will result in softer fabric)
- spray bottle(s)
- paint brush
- brayer
- protected work surface (I use inexpensive, re-usable vinyl from JoAnn’s)
- fabric
A note about paint: acrylics and textile medium can be found in a range of prices and quality. I’m happy with the results using the Americana or Folk Art brand paints from craft stores. There’s an enormous selection of colors and the price can’t be beat. Textile Medium can be found with the craft paints or in the fine art section and both work well, but I tend to favor the Golden Fabric Painting Medium for my original artwork.
A note about fabric: I aim to re-purpose material whenever possible and collect most of my stash from thrift shops, flea markets and swap meets. However, I do purchase yardage of scrim, gauze, unbleached 100% cotton muslin and linen from fabric stores as they provide a nice range of weight and texture for projects. I generally create lots of small pieces, but consider the size of your work surface and how large your sewing project will be when selecting your fabrics. When cutting fabrics down to smaller sizes, I clip and tear when possible because I love the resulting edge.
Let’s get started!

Steps:
1) Pre-mix your desired paint colors with the fabric medium.
2) Lay a piece of scrim or thin fabric on your protected work surface and spray with water until soaked. If you’re using a thicker fabric, save time by wetting it in the sink and wringing out some of the excess.

3) Begin adding paint to your surface, allowing the paint to saturate some areas more than others to create a varied surface. Continue to spray areas with water to help spread the paint across the fabric to your desired effect.


4) Once the first piece is saturated with paint and water, lay another piece of fabric right on top and run the brayer over it to soak up the excess. In this example, I laid silk over scrim which will result in a nice print of the texture onto the silk. This also works great using lace as a base.


5) Once the plastic work surface is wet and saturated with excess paint, continue experimenting with the addition of different colors. Here I dropped some yellow on top of the blue and used a brush to spread it around. Use the spray bottle to add more water as needed.


Here you can see the result of laying dry muslin on top and pressing with a brayer to soak up the color from the work surface.

Continue experimenting:
- Rotate between heavily saturating a piece of fabric and then “cleaning” the surface with a new piece of fabric and the brayer.
- Lay both wet and dry fabric on the painted work surface for different results.
- Paint lace to transfer the pretty textures onto other flat fabrics with the brayer.
- Add white or black paint to your base color to create a group of fabrics in a range of shades.
- Mix as many colors on one piece as you like, see how they bleed together with the addition of more water.
- If you have extra spray bottles, mix a little paint with water and spray color directly onto your fabric or onto your work surface.
- Consider painting trims, lace or fabric doiles while you’re at it so you have coordinating bits in your stash to incorporate into your projects.
6) Finally, when you’re done painting all of your fabrics, lay them out in the sun to dry or break out the hairdryer if you have one and speed up the drying process! If you used textile medium, you can wash and dry your fabrics before use, but I usually just opt for good ironing before stitching.
Now get to stitching with your beautiful new stash of hand painted fabrics…and if you need an idea, here’s a little project I created with mine!

*This post was originally published in 2019 and since it was so popular, it’s been re-published here on my new blog*

2 responses to “Simple Hand Painted Fabric”
I am so thrilled to come across this tutorial. It is informative, but more importantly, encouraging. I am just getting interested in textile arts and wanted a way to paint fabric instead of dying. Thanks so much for sharing your knowledge and experience. C. Stahl
LikeLike
Thanks Claudia! I’m so glad you’ve found it helpful.
LikeLike